THE HARDWARE:
OUYA (duh)
SilenX IXN-40C Copper Chipset Cooler
NF-A4x10 Fan
Arctic Silver 7g Premium Silver Thermal Cooling Adhesive
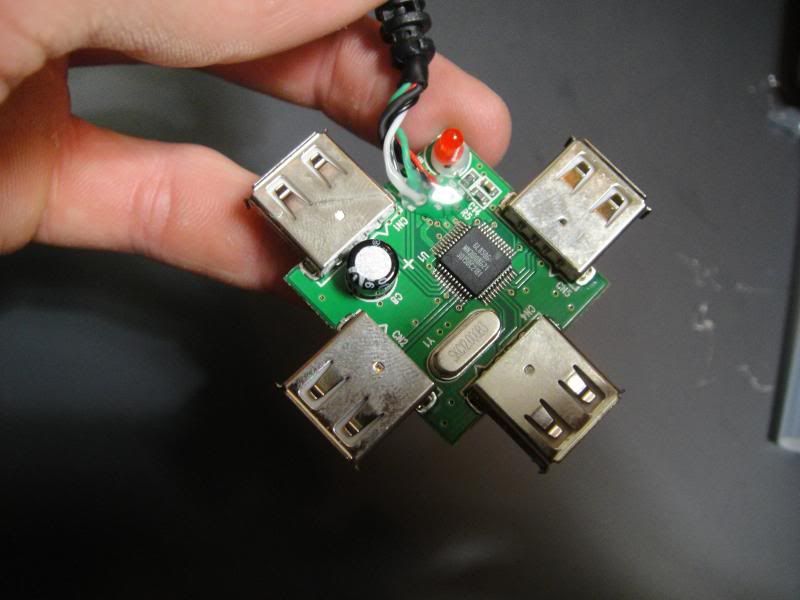
BELKIN F5U407 USB 2.0 4-Port Ultra Mini Hub
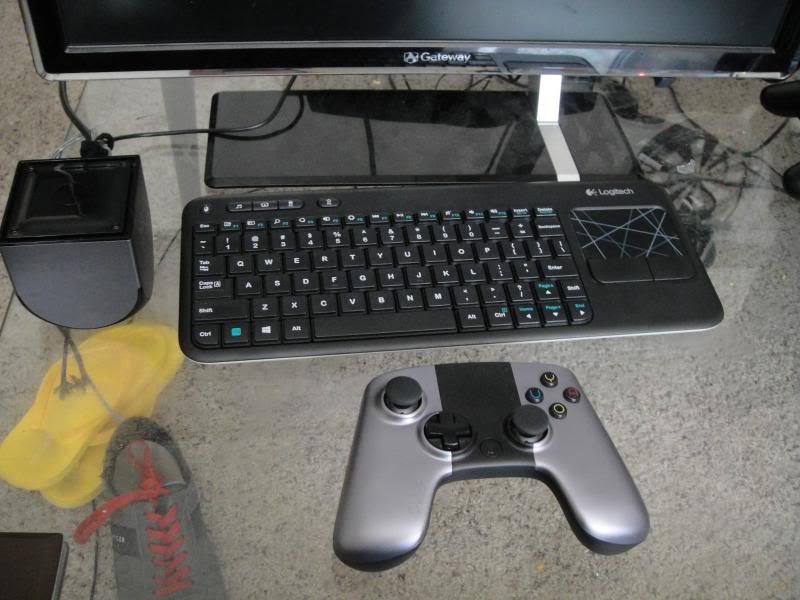
Logitech K400 Wireless Touch Keyboard
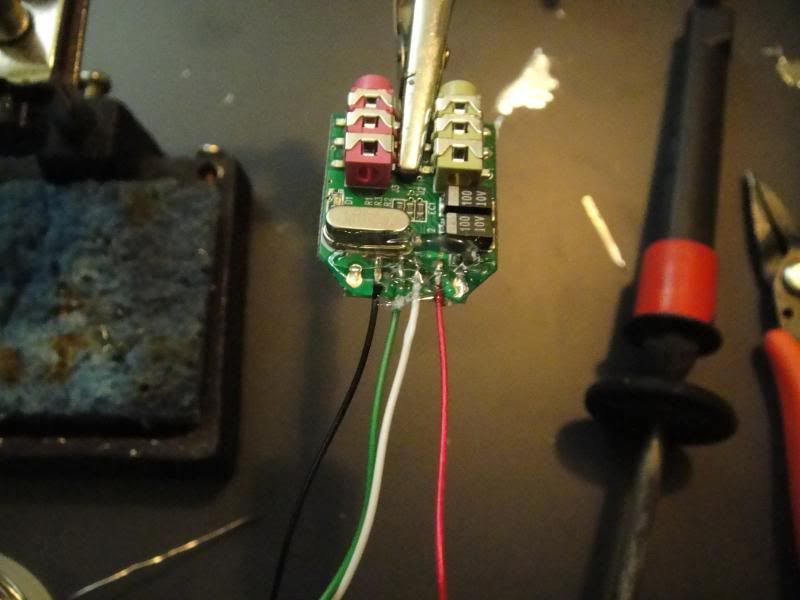
SYBA SD-CM-UAUD USB Stereo Audio Adapter
Transcend JetFlash 600 64GB USB 2.0 Flash Drive
THE SOFTWARE:
(list to come)
The goal of this project is to improve cooling, expand storage space, have analog audio out for headphones/speakers, and be able to use a wireless keyboard with a built in trackpad... Except having it be all internal :distracted:
PROGRESS:
Weights removed and mounts dremeled flat
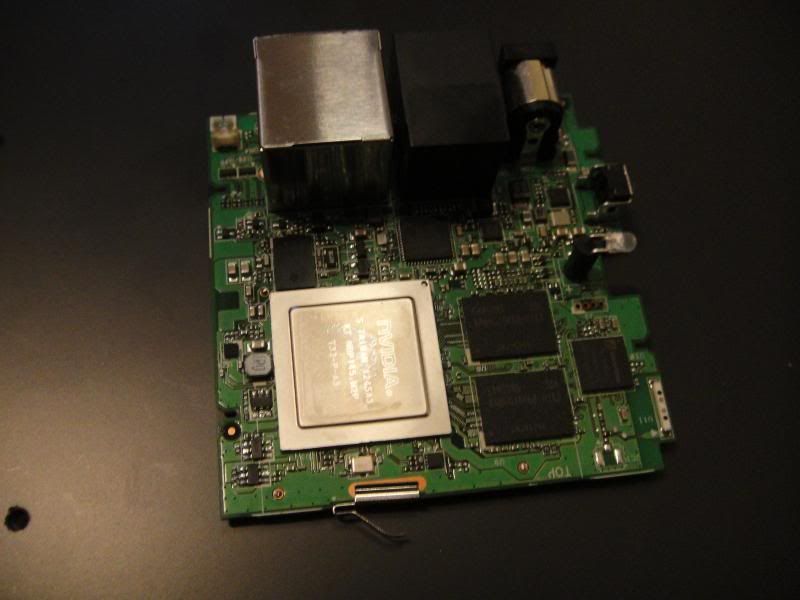
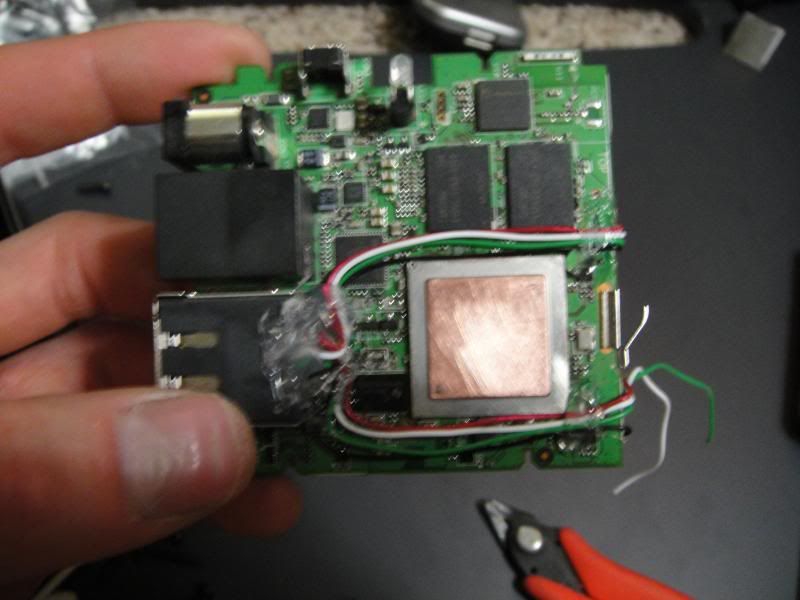
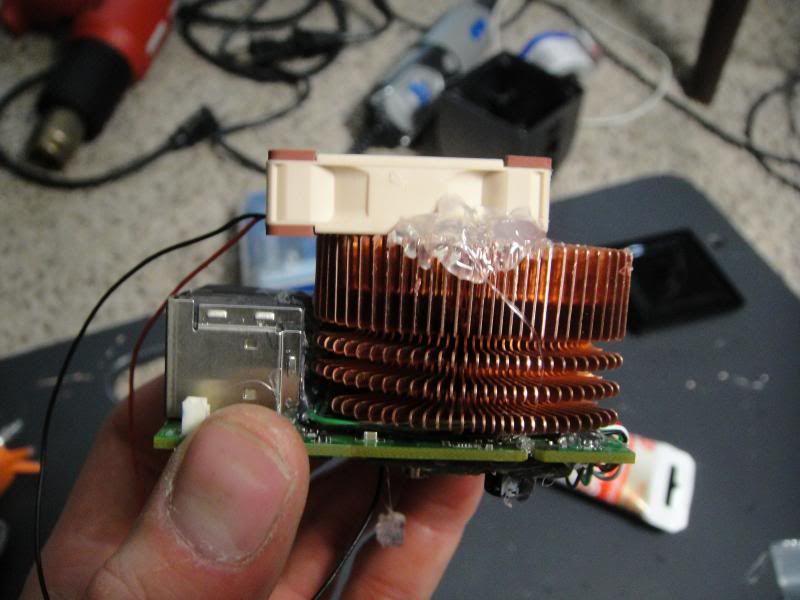
Tegra3 lapped
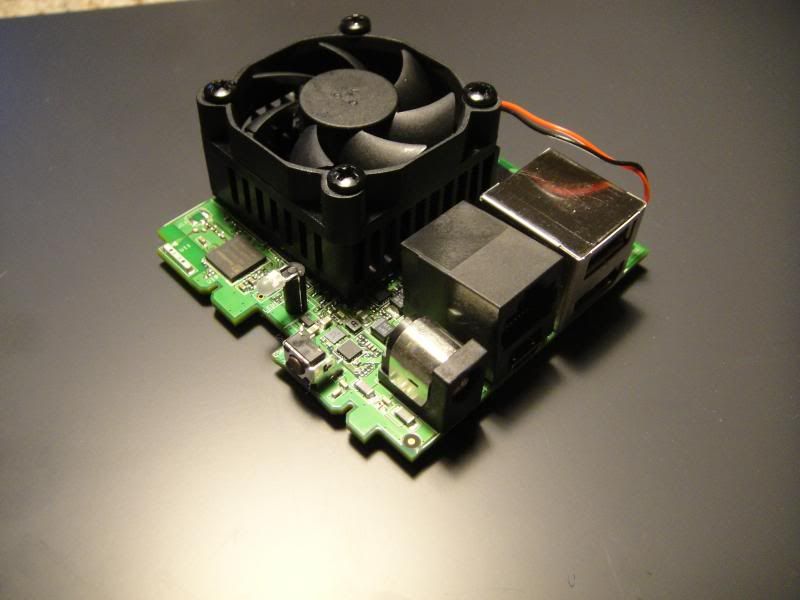
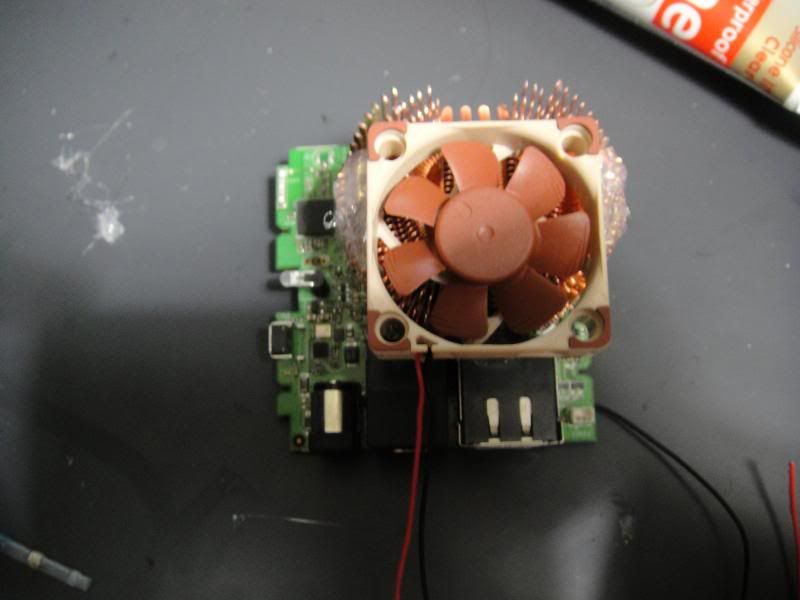
Heatsink installed
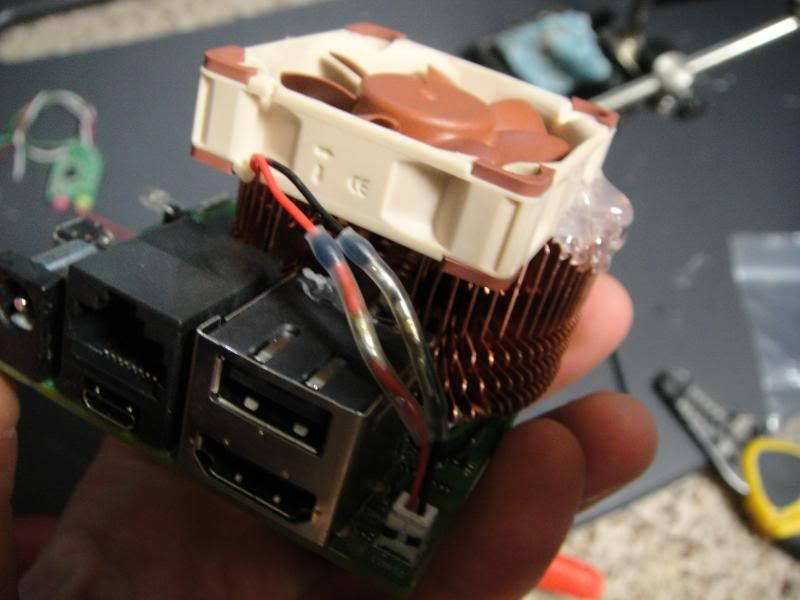
Fan installed
Fan wires spliced to originals (only for the connector really)
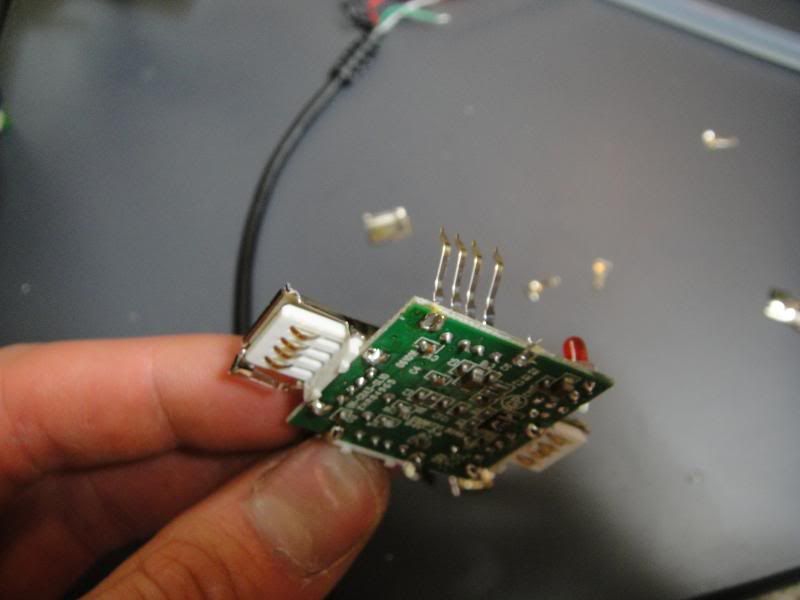
USB hub gutted (no case, USB cable, or USB ports)
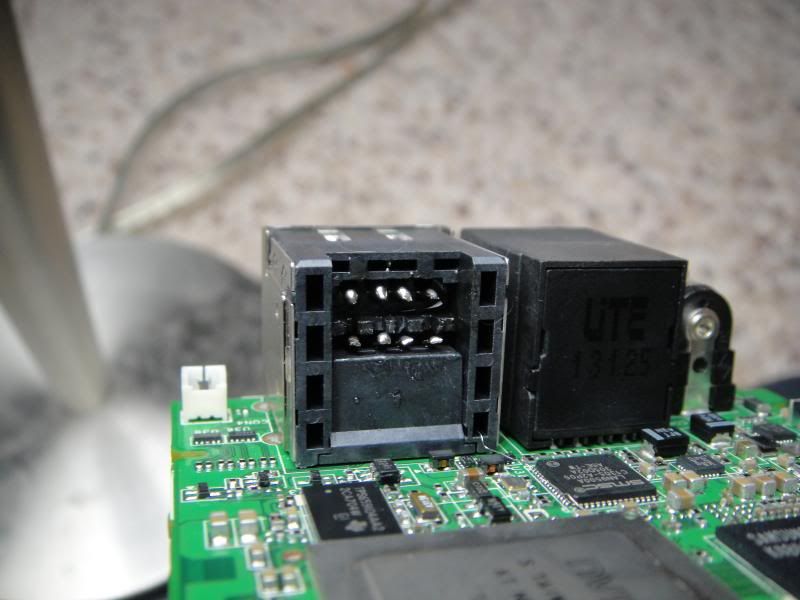
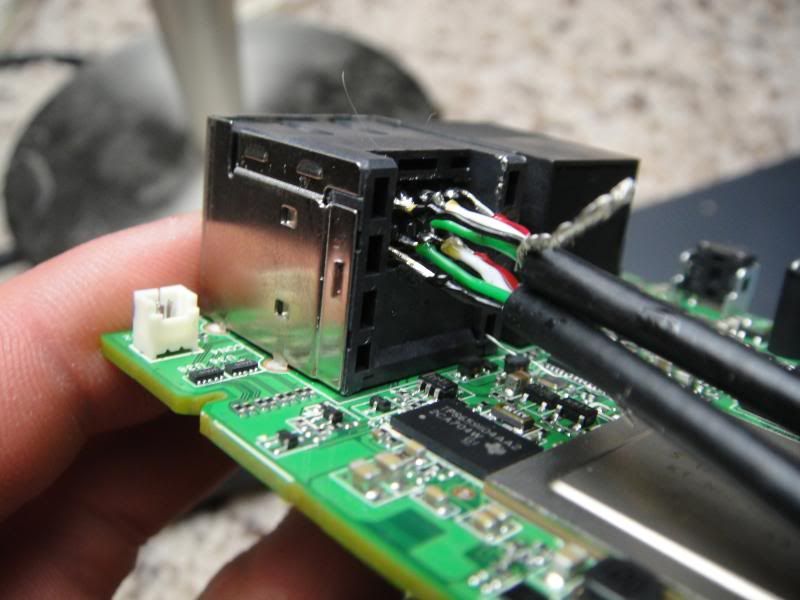
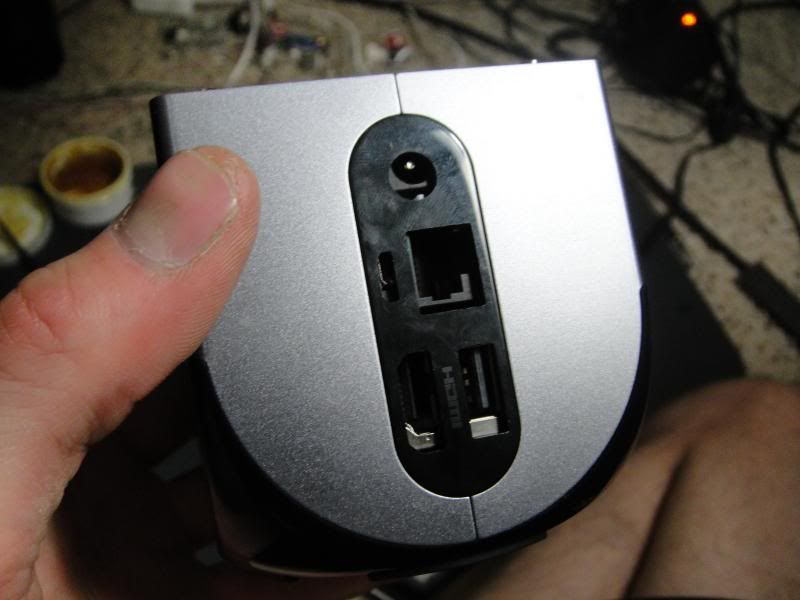
Removed the back of the Ouya USB shield
Re-routed onboard USB to hub
Routed USB from hub back to rear Ouya USB port
Gutted Logitech unifying RF receiver
Soldered RF receiver to hub
Gutted USB DAC
Soldered DAC to hub
I've also rooted the console and installed the Google Play store. I'm not really focusing on the software quite yet though. The DAC doesn't work at the moment but I've been reading they are working on including USB audio drivers soon. I also need to get the flash drive to mount as an SD card and to do it automatically at boot before I remove the USB connector and solder that internally to the hub as well.
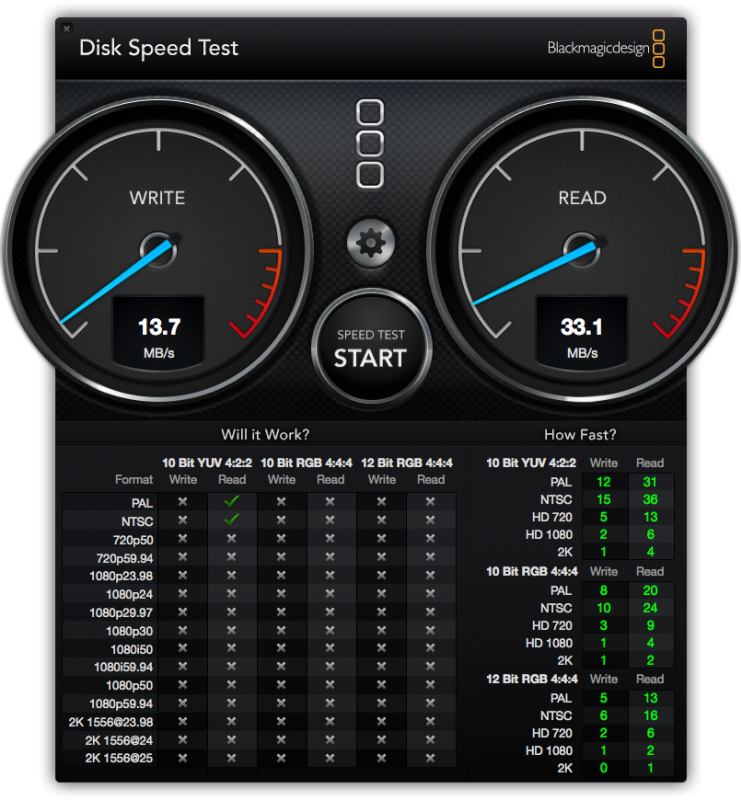
By the way, if you want to get a USB drive for your OUYA, this is the fastest 2.0 drive out there. I did a speed test and the results are pretty damn good.
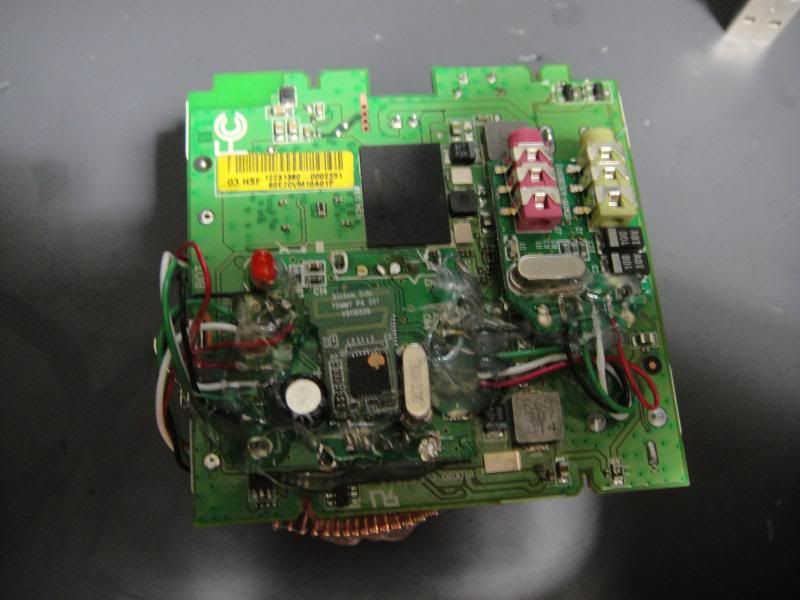
Stock PCB
Minus heatsink and fan
USB shield removed and leads cut
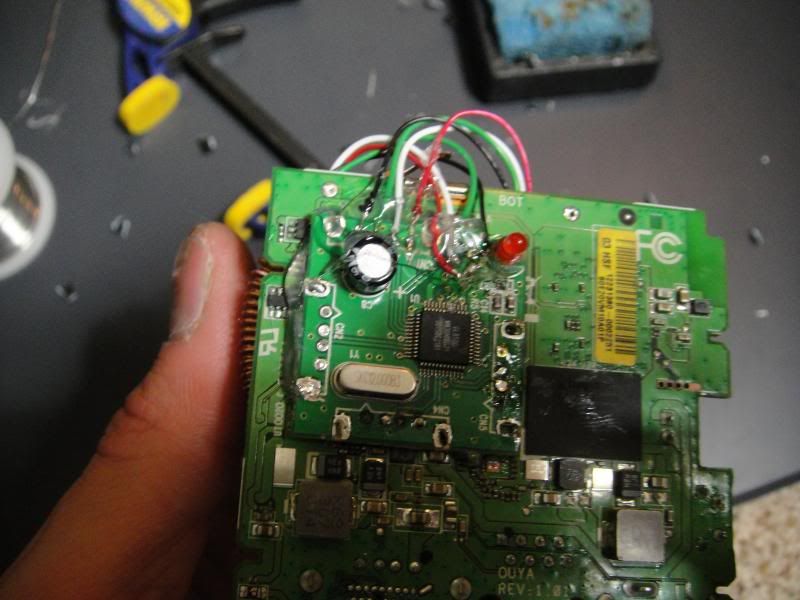
USB wires soldered on
Tegra lapped and USB wires hot-glued
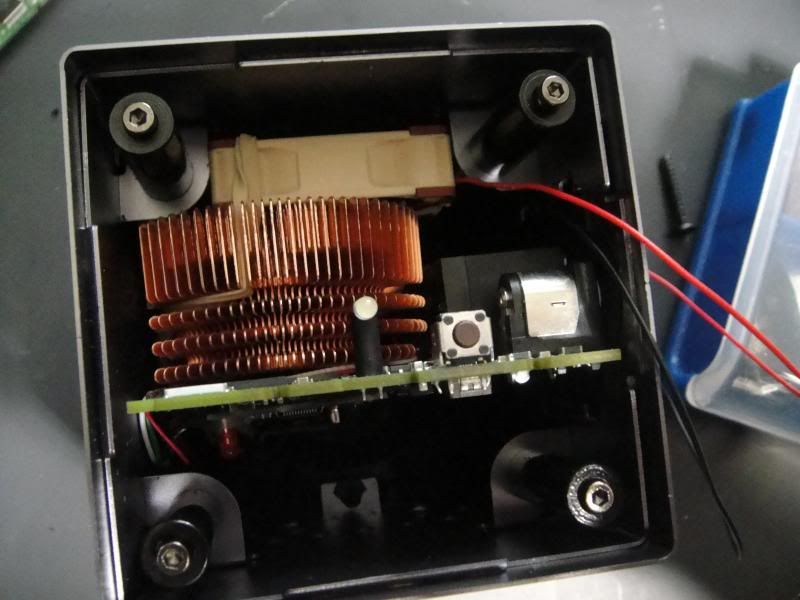
Holding the heatsink in place while the thermal adhesive sets. I had to trim it a bit to fit in the case.
USB hub PCB
Removing the USB ports
Leads soldered onto DAC
Hub soldered and glued
RF receiver soldered to hub and glued
It didn't quite fit in. I ended up having to take out the weights and sanding the bottom flat
Test fit
Fan hot glued to heatsink
Wires spliced
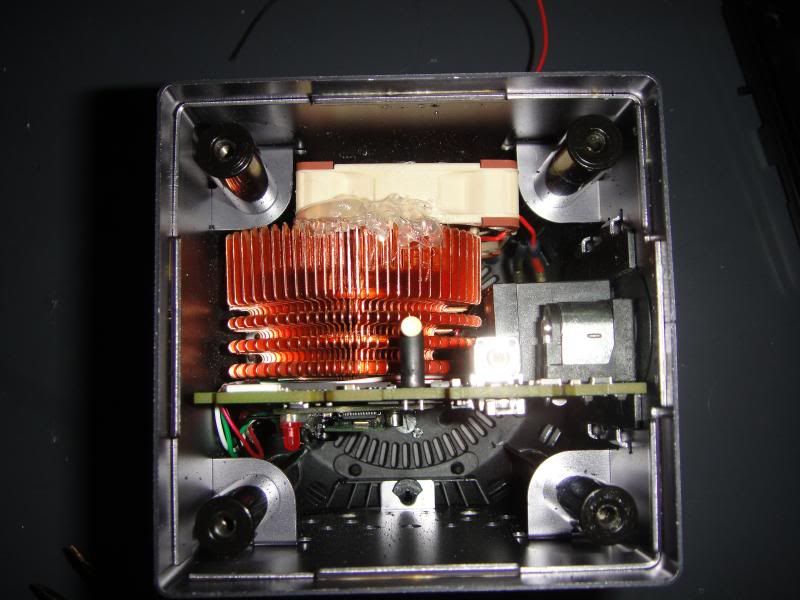
All fits so far!
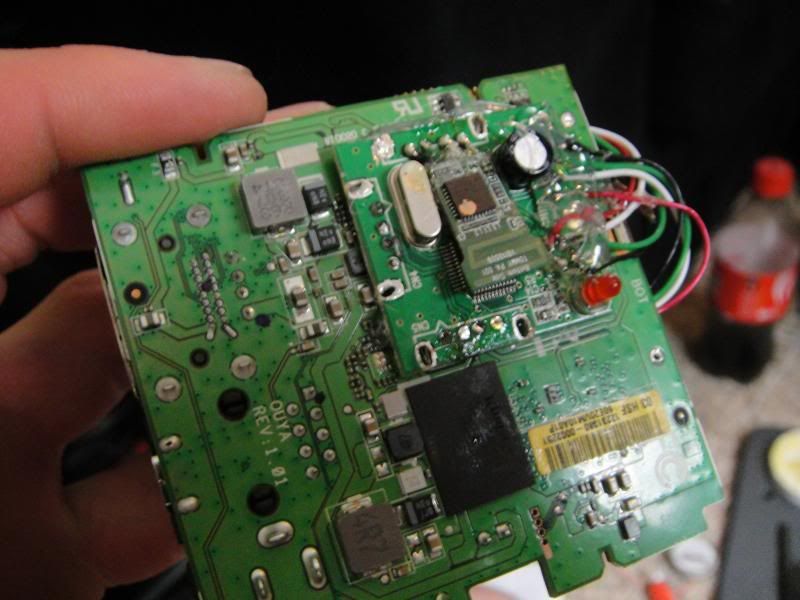
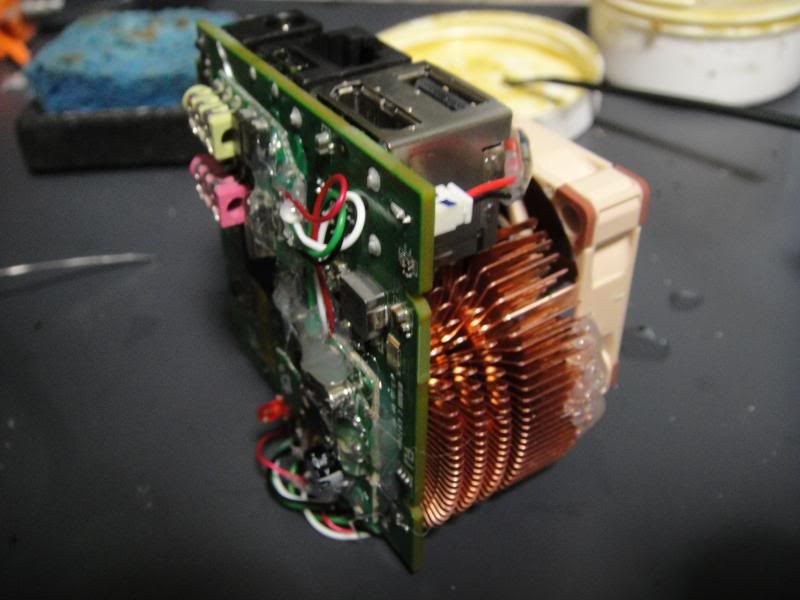
DAC soldered to board
DAC glued in place
Shot with everything installed so far
Reassembled with the keyboard I'm using
Keep checking in for more updates =)